How to set up A/B tests in Django
Feb 09, 2024
A/B tests help you improve your Django app by enabling you to compare the impact of changes on key metrics. To show you how to set one up, we create a basic Django app, add PostHog, create an A/B test, and implement the code for it.
1. Create a basic Django app
First, ensure Python 3 and Django are installed. Then, create a new Django project called django_ab_tests with a basic app:
Next, we create a simple view with a heading and paragraph. Replace the code in basic_app/views.py with the following:
Then, map a URL to your view by adding a path to urlpatterns in django_ab_tests/urls.py. Replace the code in that file with the following:
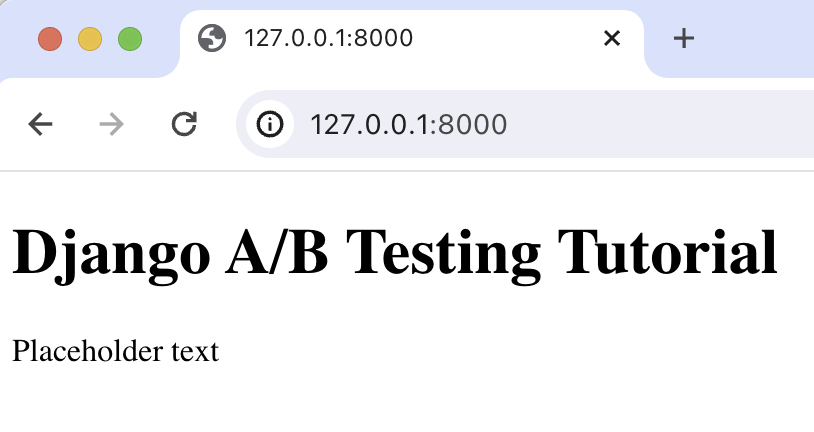
Run python3 manage.py migrate to migrate the database (you only need to run this once) and then python3 manage.py runserver to see our app in action at http://127.0.0.1:8000.
2. Add PostHog to your app
With our app set up, it’s time to install and set up PostHog. If you don't have a PostHog instance, you can sign up for free.
To start, run pip install posthog to install PostHog’s Python SDK.
Then, set the PostHog API key and host in your AppConfig in basic_app/apps.py so that's it's available everywhere:
You can find your project API key and instance address in your project settings.
Next, add your AppConfig to django_ab_tests/settings.py under INSTALLED_APPS:
Lastly, we import posthog into basic_app/views.py and capture a $pageview event using posthog.capture():
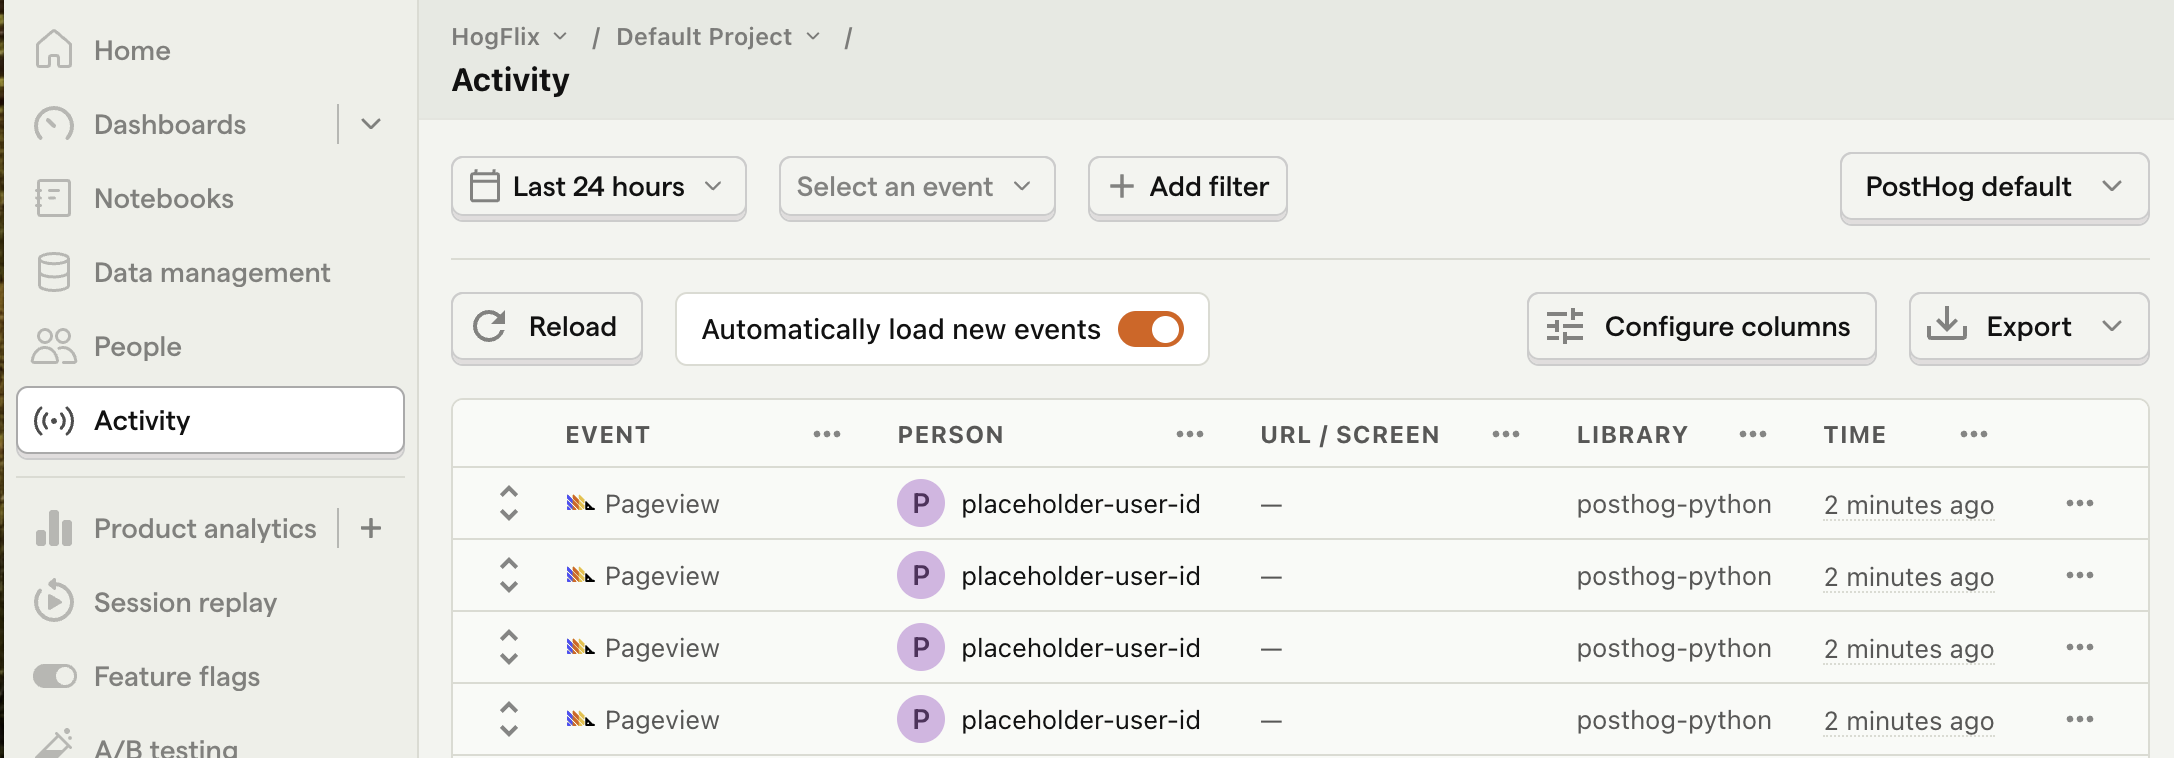
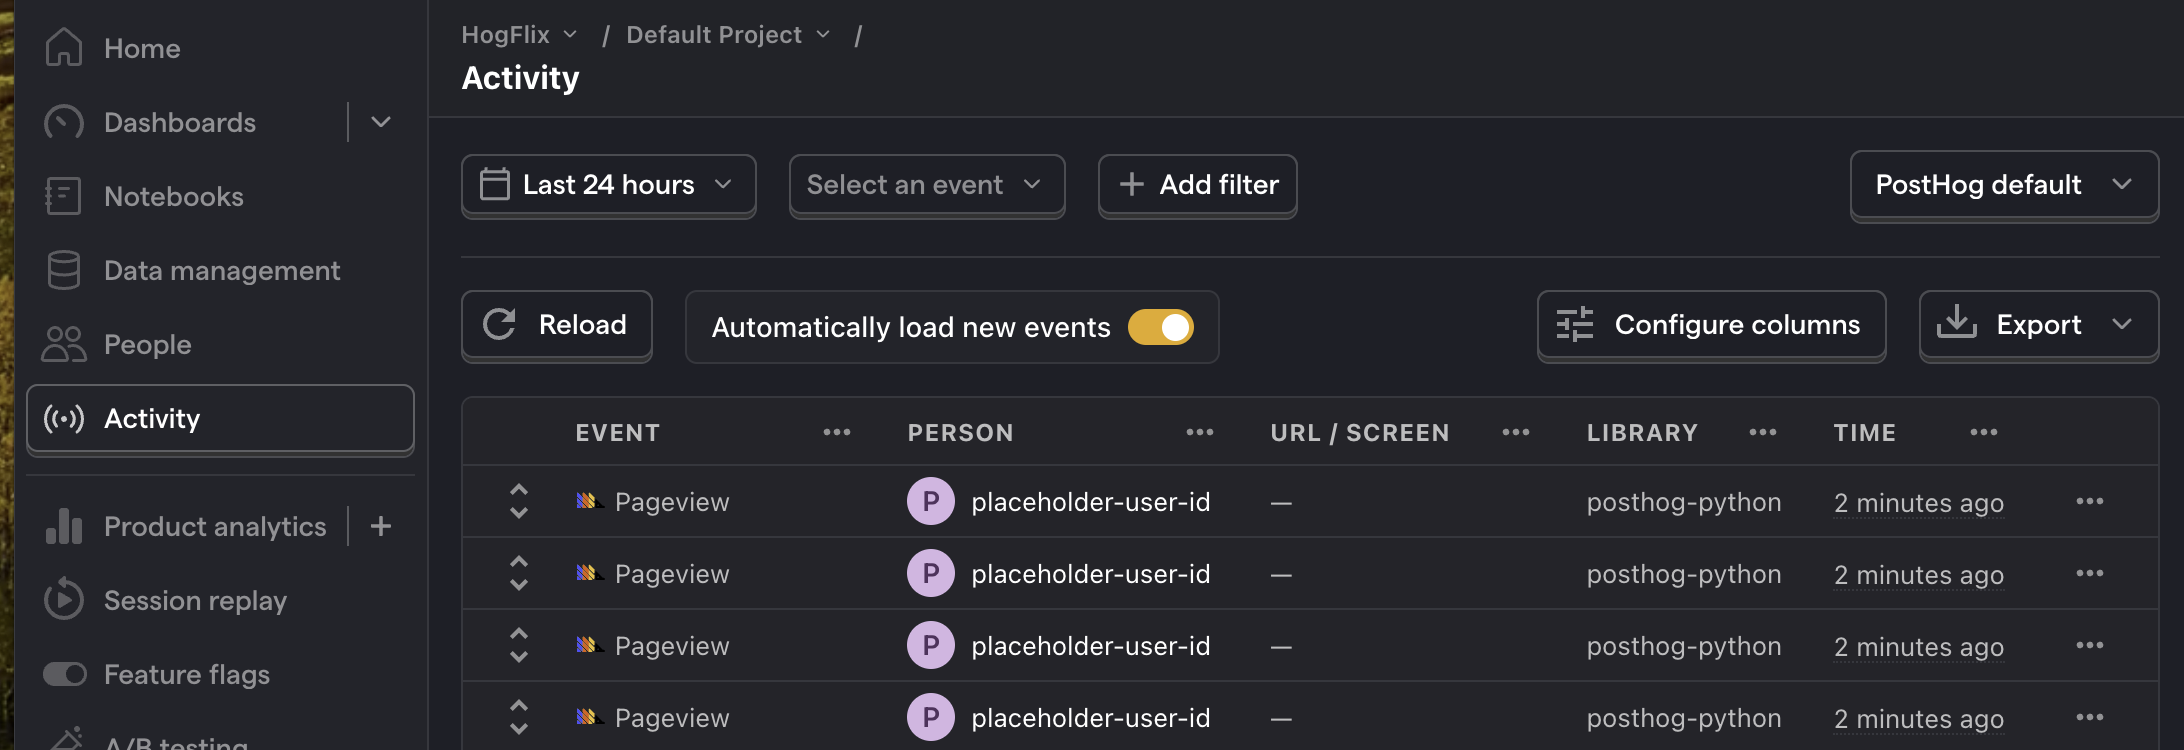
With this set up, restart your app and then refresh your browser a few times. You should now see captured events in your PostHog activity tab.
3. Create an A/B test in PostHog
If you haven't done so already, you'll need to upgrade your PostHog account to include A/B testing. This requires entering your credit card, but don't worry, we have a generous free tier of 1 million requests per month – so you won't be charged anything yet.
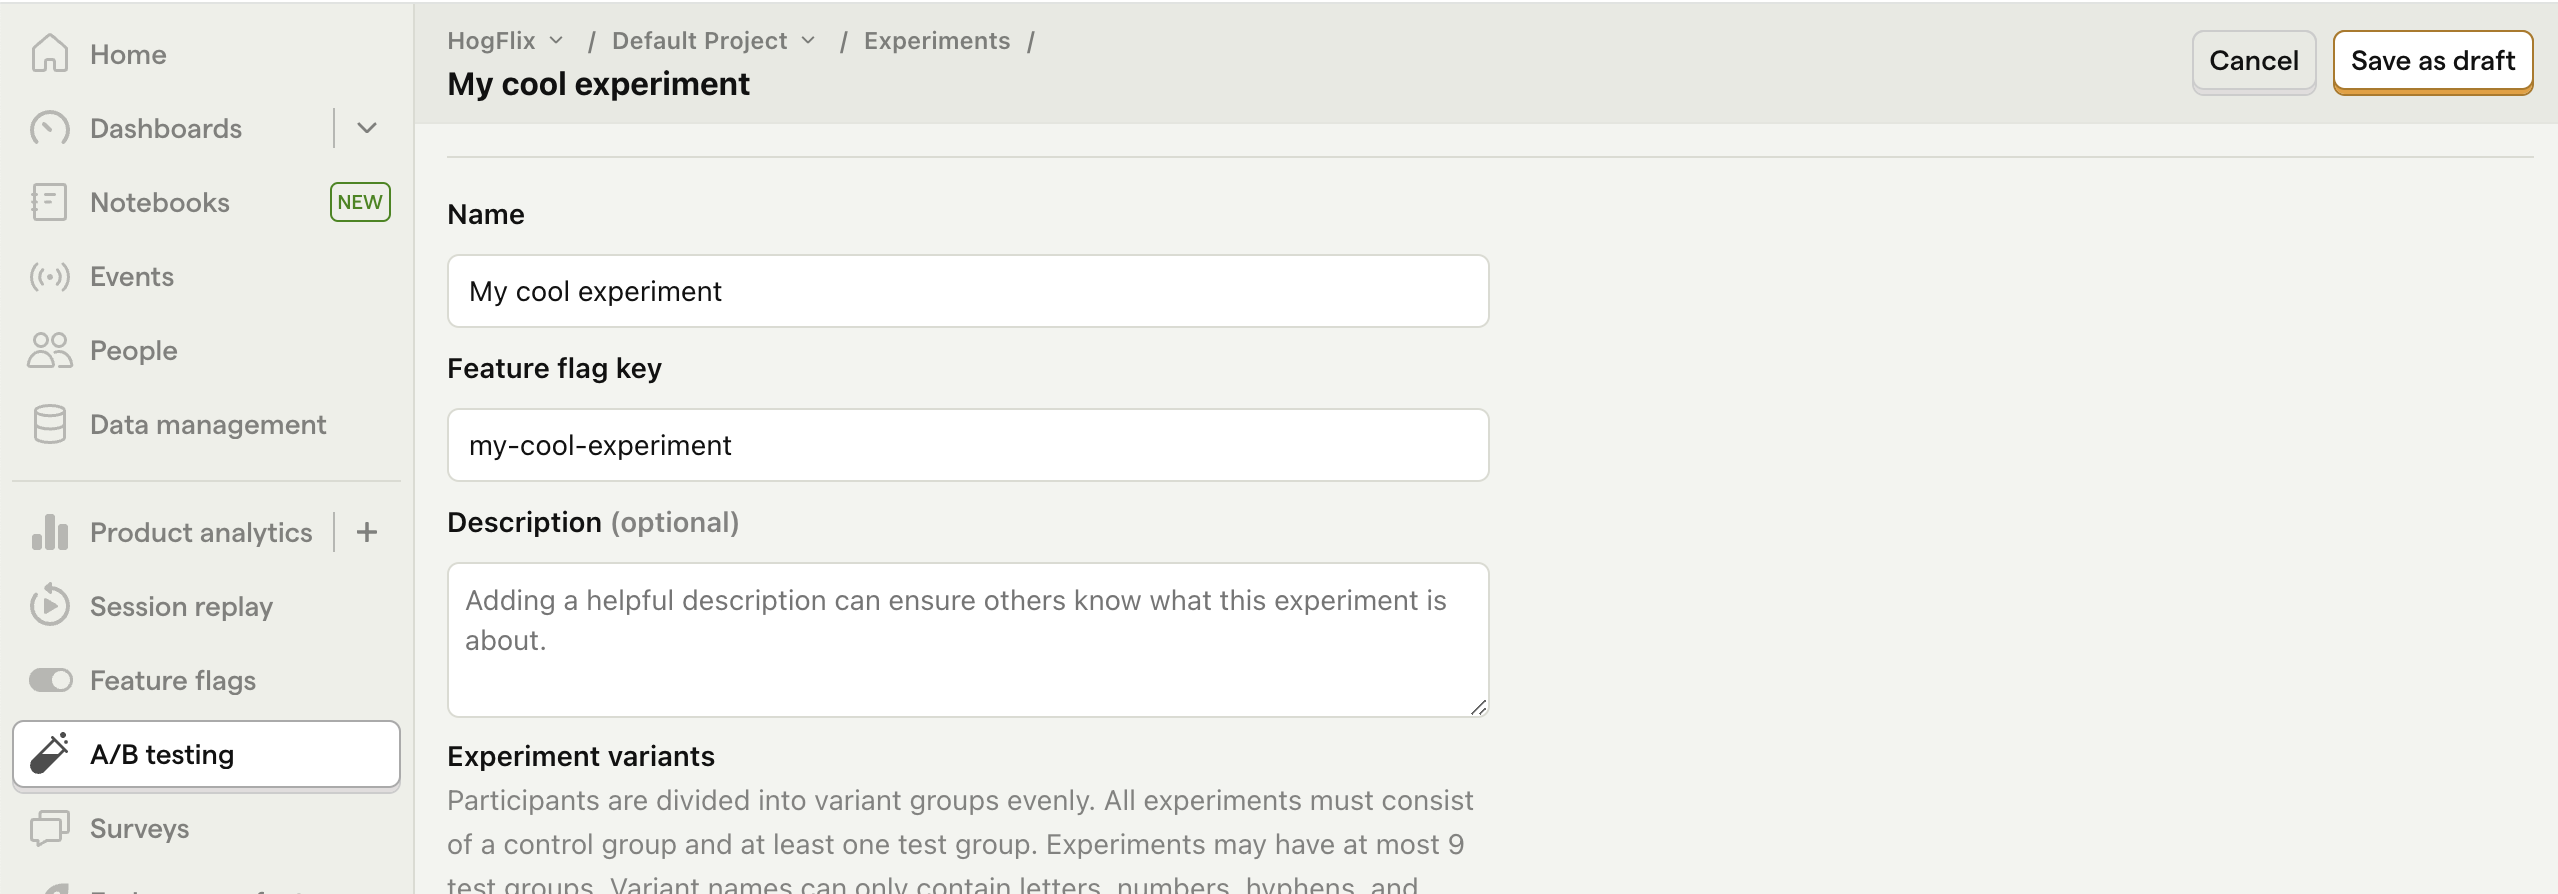
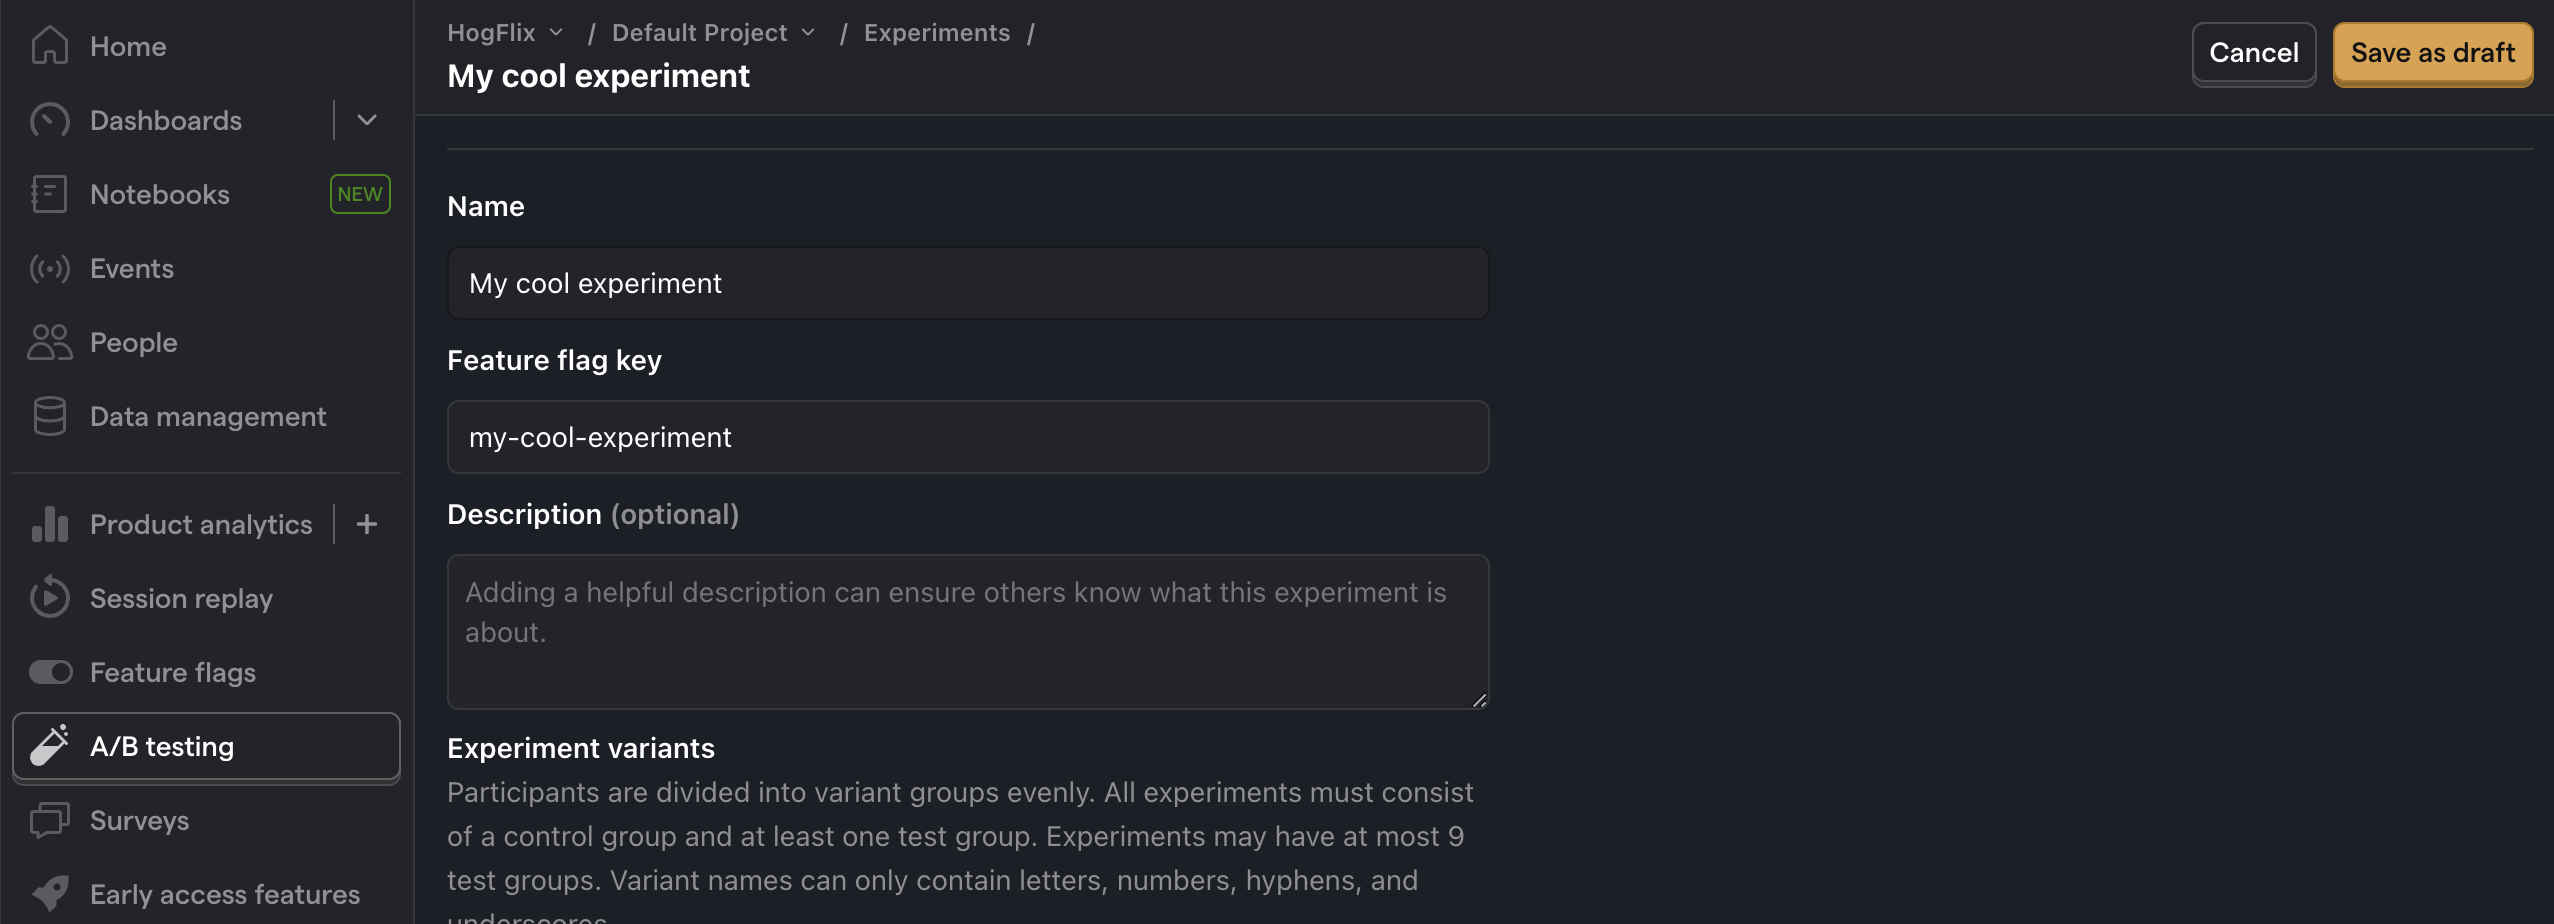
Next, go to the A/B testing tab and create an A/B test by clicking the New experiment button. Add the following details to your experiment:
- Name it "My cool experiment".
- Set "Feature flag key" to
my-cool-experiment. - Under the experiment goal, select the
pageviewevent we captured in the previous step. - Use the default values for all other fields.
Click "Save as draft" and then click "Launch".
4. Implement the A/B test code
To implement the A/B test, we:
- Fetch the
my-cool-experimentflag usingposthog.get_feature_flag(). - Update the paragraph text based on whether the user is in the
controlortestvariant of the experiment.
When you restart your app and refresh the page, you should see the text updated to either Control variant! or Test variant!.
💡 Setting the correct
distinctId:You may notice that we set
distinctId = 'placeholder-user-id'in our flag call above. In production apps, to ensure you fetch the correct flag value for your user,distinctIdshould be set to their unique ID.For logged-in users, you typically use their email or user ID as their
distinctId. For logged-out users, assuming they made their request from a browser, you can use values from their request cookies. See an example of this in our Nuxt feature flags tutorial.
5. Include the feature flag when capturing your event
To ensure our goal metric is correctly calculated for each experiment variant, we need to include our feature flag information when capturing our $pageview event.
To do this, we add the $feature/my-cool-experiment key to our event properties:
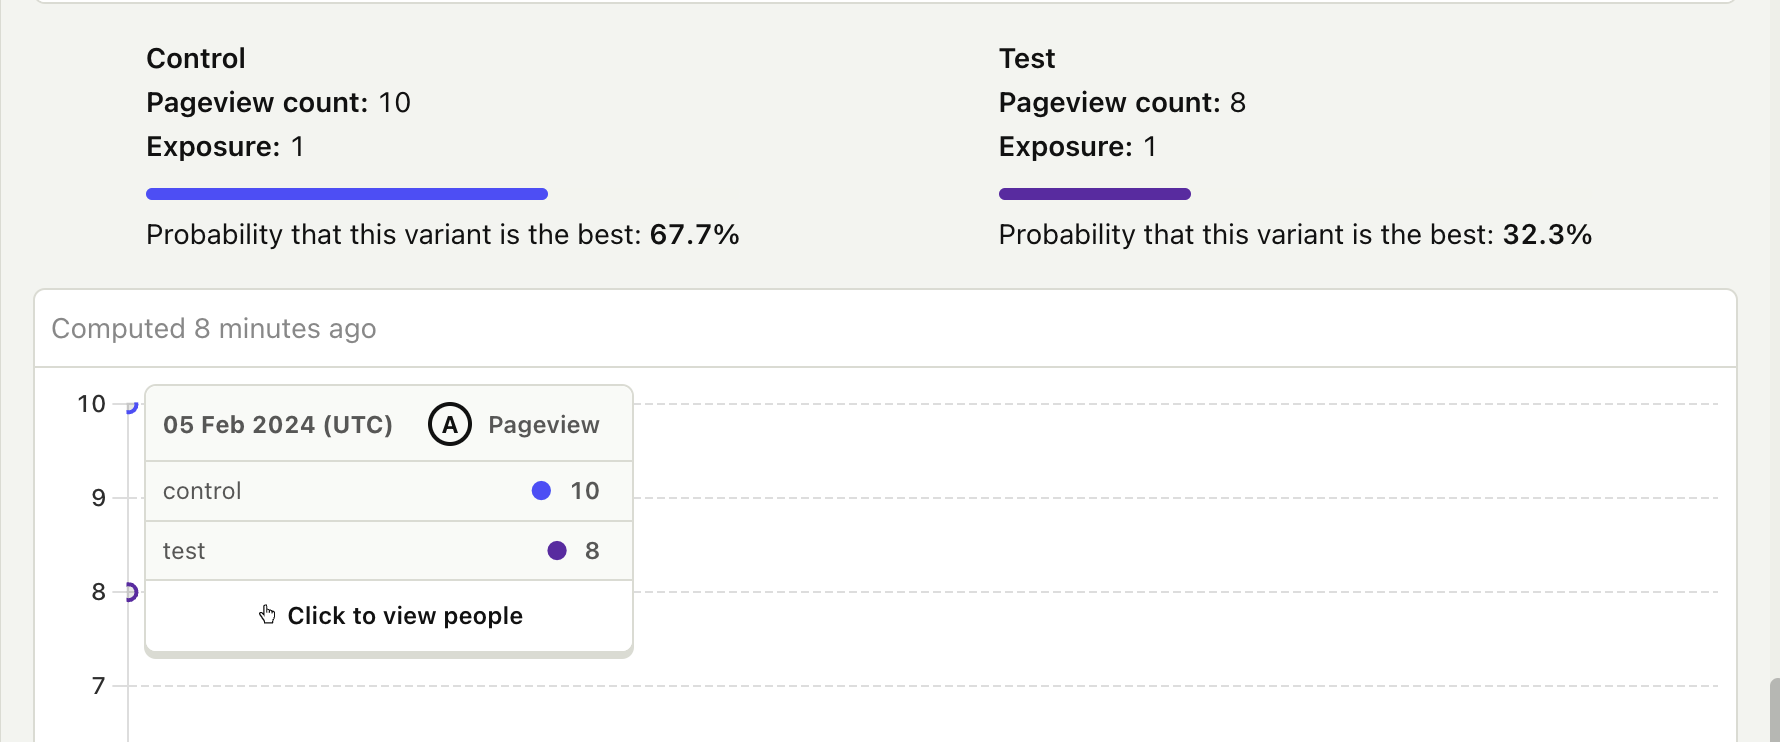
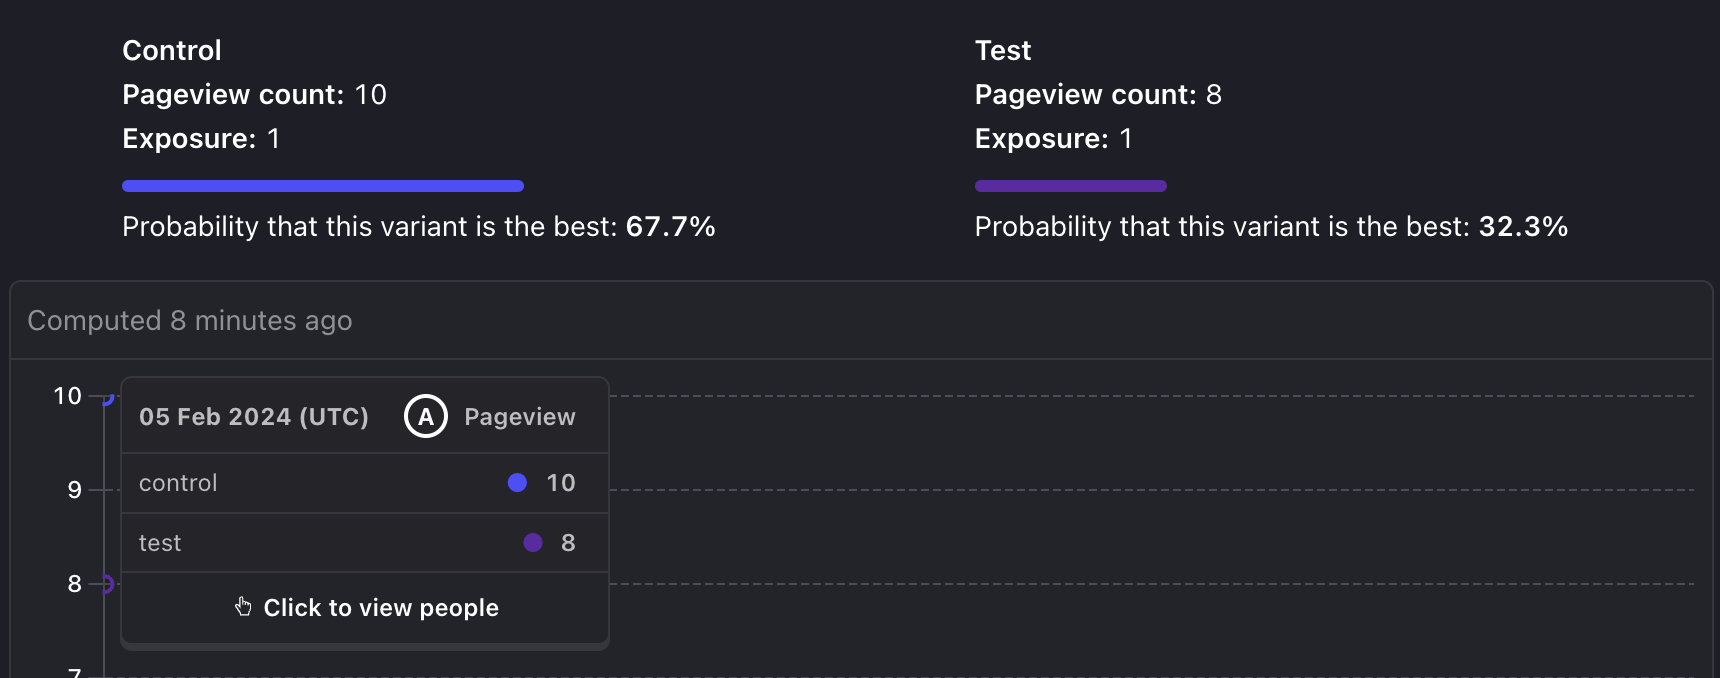
Now PostHog is able to calculate our goal metric for our experiment results:
Further reading
- Setting up Django analytics, feature flags, and more
- A software engineer's guide to A/B testing
- 8 annoying A/B testing mistakes every engineer should know
